Bitter melon beef works best when the melon stays slightly crisp and the beef is cooked separately before a short final toss. Removing the seeds and pith and briefly blanching the slices can soften bitterness, but it will not turn bitter melon into a sweet vegetable. This is a home stir-fry, not a medicinal preparation.
Measure the beef, melon, and coating
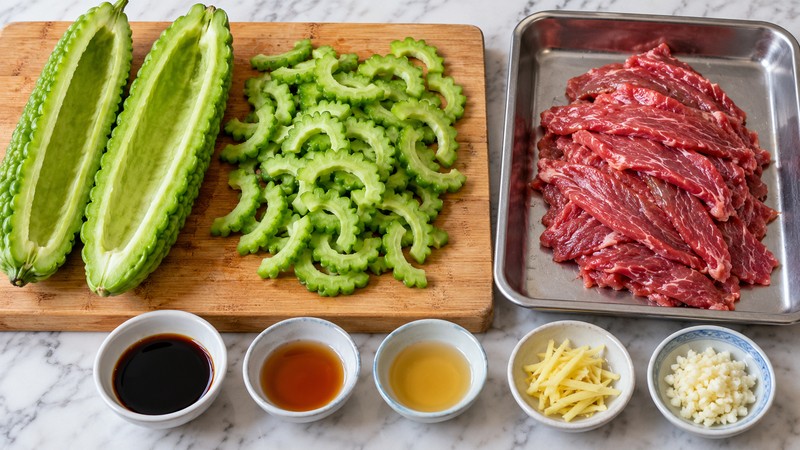
For two to three portions, use 300 g flank steak, 1 medium bitter melon (about 350 g), 2 minced garlic cloves, 10 g finely sliced ginger, and 2 tablespoons neutral oil divided between cooking stages. Have rice ready before starting.
- Marinade: 2 teaspoons light soy sauce, 1 teaspoon cornstarch, 1 tablespoon water, and 1 teaspoon oil.
- Sauce: 1 tablespoon oyster sauce, 1 teaspoon light soy sauce, 1/2 teaspoon sugar, and 60 ml water.
- Optional thickener: 1/2 teaspoon cornstarch stirred into 1 tablespoon cold water. Add only if needed.
Allow about 25 minutes for preparation and 8 to 10 minutes for cooking. A wide skillet works if a wok is unavailable. The Woks of Life’s beef and bitter melon recipe is a first-hand reference for this pairing; its black-bean version differs from the simpler oyster-sauce coating here.
Prepare bitterness and tenderness separately
Halve the washed melon lengthwise. Scoop out seeds and the soft pale pith, then cut crosswise into 3 mm crescents. Blanch in boiling water for 1 minute, drain, and pat dry. If you enjoy stronger bitterness, omit the blanch and plan for a slightly longer pan-cooking stage. Do not promise complete bitterness removal.
Slice beef about 3 mm thick across the grain and mix with the marinade. Refrigerate for 15 minutes while preparing the melon and sauce. Keep the raw-beef board and utensils away from cooked food. This formulation does not require baking soda; it avoids a variable tenderizing step for a small home batch.
Cook the beef and melon in separate passes
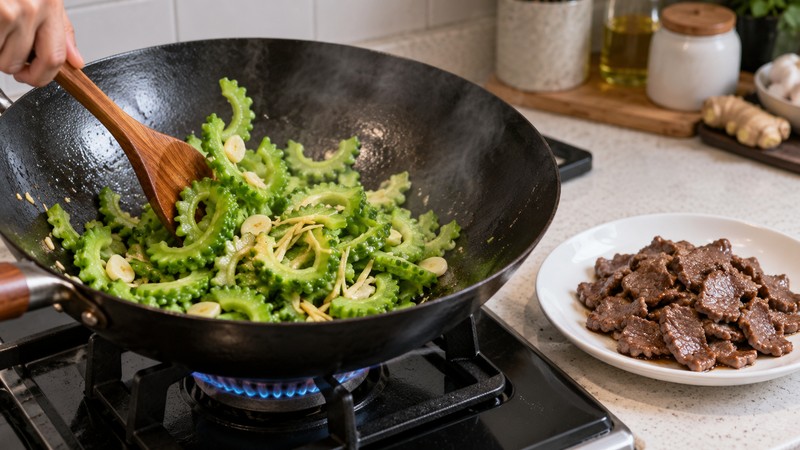
- Heat the skillet over medium-high heat with 1 tablespoon oil. Spread beef in one layer; cook in two batches if necessary. Turn and stir until cooked through, then move to a clean plate. The time varies with slice thickness; do not use browning alone as proof of doneness.
- Add the remaining oil, ginger, and garlic. Stir briefly until fragrant, then add the drained melon. Toss for about 2 minutes and taste a melon slice for the texture you want.
- Add the sauce. Let it bubble, return the beef and its cooked juices, and toss just long enough to heat everything together. Avoid a prolonged boil that toughens the meat.
Adjust the coating, not the identity of the dish
If the melon is still too firm, remove the beef and simmer the melon with an extra tablespoon of water before recombining. If the sauce is thin, stir the slurry again and add half, letting it bubble before deciding whether the rest is necessary. Stop when the sauce clings lightly; a heavy gel masks the melon.
Do not keep adding sugar to hide bitterness. Serve a small portion with rice, or choose a different vegetable if the flavor is unwelcome. Bell pepper can use a similar stir-fry method but makes a different dish. Check oyster sauce for shellfish, soy, and wheat; use a suitable mushroom sauce if required and adjust salt accordingly.
Serve and store
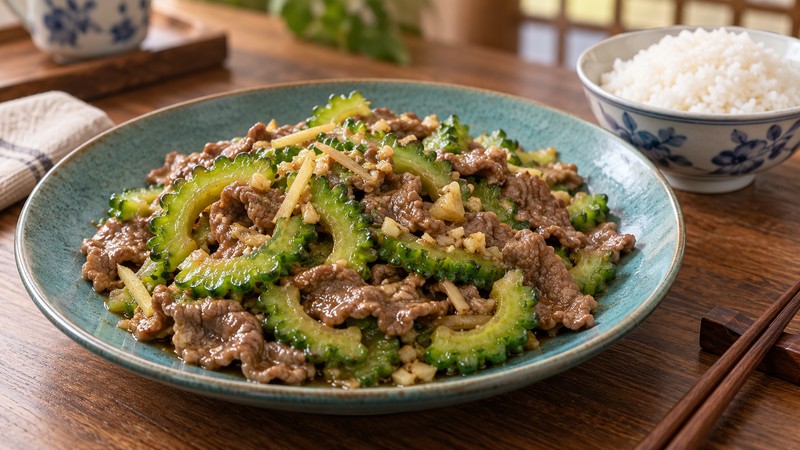
Serve promptly on a warm plate. Refrigerate in shallow containers within 2 hours, or 1 hour above 90 F (32 C), and use refrigerated leftovers within 3 to 4 days. Reheat to 165 F (74 C), as advised by USDA leftover guidance. Expect softer melon and less tender beef after reheating.
Compare sauce roles in the Cantonese sauces guide, or pair this with the milder tomato and egg dish.
Frequently Asked Questions
Must I salt the bitter melon before cooking?
No. This version uses a brief blanch. Salting and draining is another preparation approach, but stacking multiple treatments can leave the melon overly soft and still does not eliminate all bitterness.
Why does the beef release water instead of searing?
The pan may be crowded or insufficiently hot, or the meat may carry excess surface liquid. Use small batches and let the pan recover heat between them.
Illustration note: any AI-generated food images accompanying this article are illustrative, not photographs of a tested batch.